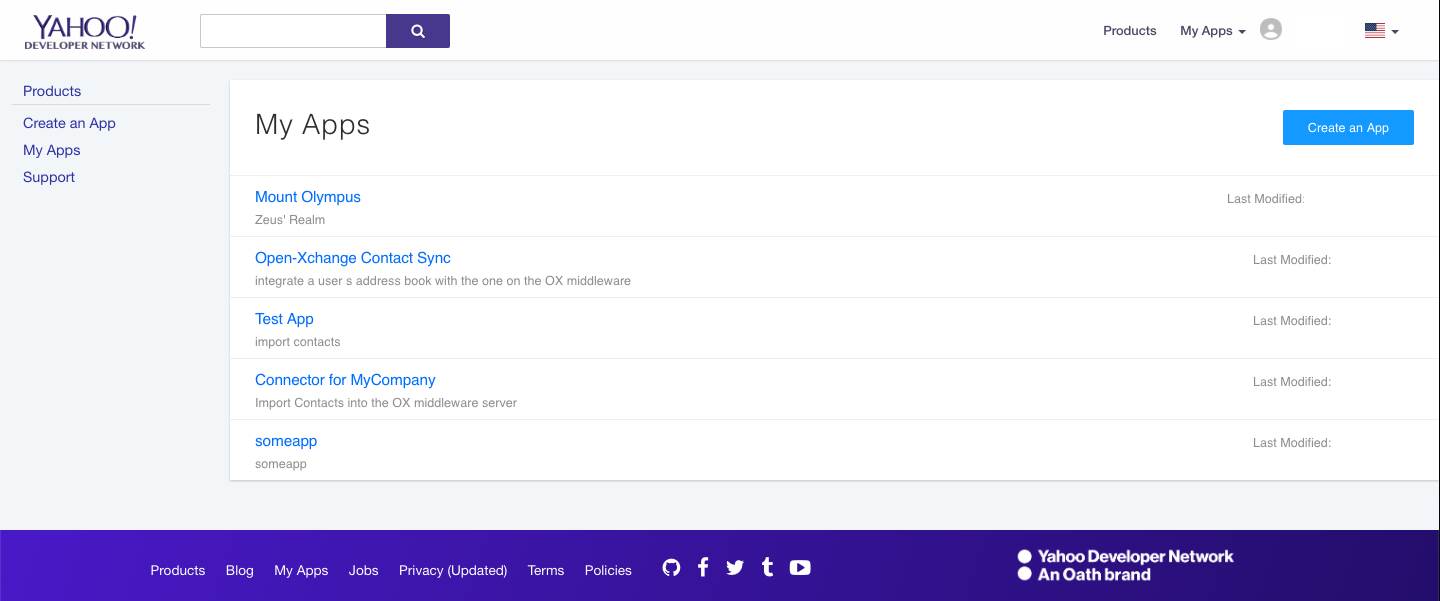
Yahoo! deprecated
Preparation
Creating the Yahoo! application
The application keys for Yahoo! need to be replaced by the ones retrieved from an application managed at Yahoo!.
- Go here and sign into Yahoo!. It is recommended to use a company account for this where the credentials are known to more than one person.
- You will see a list of all Yahoo! applications associated with the current account. Click "Create an App" on the left.

- Enter a name and description for the Yahoo! application in fields "Application Name" and "Description" respectively. Both will be shown to your users when allowing access the application later.
- Select Web Application for Application Type.
- Enter the domain of your company's website in field "Home Page URL"
- Enter in the Callback Domain field the domain where your Open-Xchange server will run. This is important as the API key and API secret that will be generated later for your application will only work for this domain.
- Under API Permissions check the "Contacts" options and select the "Read" option.
- Then click "Create App"

- Once the application is created, Yahoo! will generate a Cliend ID (the consumer key or API key) and a Client Secret (the consumer secret or API secret). These values need to be added to the
/opt/openexchange/etc/groupware/yahoooauth.propertiesfile undercom.openexchange.oauth.yahoo.apiKeyandcom.openexchange.oauth.yahoo.apiSecretrespectively.

OS Repositories
Debian GNU/Linux 8.0
Add the following entry to /etc/apt/sources.list.d/open-xchange.list if not already present:
deb https://software.open-xchange.com/products/appsuite/stable/backend/DebianJessie/ /

# if you have a valid maintenance subscription, please uncomment the
# following and add the ldb account data to the url so that the most recent
# packages get installed
# deb https://[CUSTOMERID:PASSWORD]@software.open-xchange.com/products/appsuite/stable/backend/updates/DebianJessie/ /
Debian GNU/Linux 9.0
Add the following entry to /etc/apt/sources.list.d/open-xchange.list if not already present:
deb https://software.open-xchange.com/products/appsuite/stable/backend/DebianStretch/ /

# if you have a valid maintenance subscription, please uncomment the
# following and add the ldb account data to the url so that the most recent
# packages get installed
# deb https://[CUSTOMERID:PASSWORD]@software.open-xchange.com/products/appsuite/stable/backend/updates/DebianStretch/ /
SUSE Linux Enterprise Server 12
Add the package repository using zypper if not already present:
$ zypper ar https://software.open-xchange.com/products/appsuite/stable/backend/SLE_12 ox
If you have a valid maintenance subscription, please run the following command and add the ldb account data to the url so that the most recent packages get installed:

$ zypper ar https://[CUSTOMERID:PASSWORD]@software.open-xchange.com/products/appsuite/stable/backend/updates/SLES11 ox-updates
RedHat Enterprise Linux 6
Start a console and create a software repository file if not already present:
$ vim /etc/yum.repos.d/ox.repo

[ox]
name=Open-Xchange
baseurl=https://software.open-xchange.com/products/appsuite/stable/backend/RHEL6/
gpgkey=https://software.open-xchange.com/oxbuildkey.pub
enabled=1
gpgcheck=1
metadata_expire=0m

# if you have a valid maintenance subscription, please uncomment the
# following and add the ldb account data to the url so that the most recent
# packages get installed
# [ox-updates]
# name=Open-Xchange Updates
# baseurl=https://[CUSTOMERID:PASSWORD]@software.open-xchange.com/products/appsuite/stable/backend/updates/RHEL6/
# gpgkey=https://software.open-xchange.com/oxbuildkey.pub
# enabled=1
# gpgcheck=1
# metadata_expire=0m
RedHat Enterprise Linux 7
Start a console and create a software repository file if not already present:
$ vim /etc/yum.repos.d/ox.repo

[ox]
name=Open-Xchange
baseurl=https://software.open-xchange.com/products/appsuite/stable/backend/RHEL7/
gpgkey=https://software.open-xchange.com/oxbuildkey.pub
enabled=1
gpgcheck=1
metadata_expire=0m

# if you have a valid maintenance subscription, please uncomment the
# following and add the ldb account data to the url so that the most recent
# packages get installed
# [ox-updates]
# name=Open-Xchange Updates
# baseurl=https://[CUSTOMERID:PASSWORD]@software.open-xchange.com/products/appsuite/stable/backend/updates/RHEL7/
# gpgkey=https://software.open-xchange.com/oxbuildkey.pub
# enabled=1
# gpgcheck=1
# metadata_expire=0m
CentOS 6
Start a console and create a software repository file if not already present:
$ vim /etc/yum.repos.d/ox.repo

[ox]
name=Open-Xchange
baseurl=https://software.open-xchange.com/products/appsuite/stable/backend/RHEL6/
gpgkey=https://software.open-xchange.com/oxbuildkey.pub
enabled=1
gpgcheck=1
metadata_expire=0m

# if you have a valid maintenance subscription, please uncomment the
# following and add the ldb account data to the url so that the most recent
# packages get installed
# [ox-updates]
# name=Open-Xchange Updates
# baseurl=https://[CUSTOMERID:PASSWORD]@software.open-xchange.com/products/appsuite/stable/backend/updates/RHEL6/
# gpgkey=https://software.open-xchange.com/oxbuildkey.pub
# enabled=1
# gpgcheck=1
# metadata_expire=0m
CentOS 7
Start a console and create a software repository file if not already present:
$ vim /etc/yum.repos.d/ox.repo

[ox]
name=Open-Xchange
baseurl=https://software.open-xchange.com/products/appsuite/stable/backend/RHEL7/
gpgkey=https://software.open-xchange.com/oxbuildkey.pub
enabled=1
gpgcheck=1
metadata_expire=0m

# if you have a valid maintenance subscription, please uncomment the
# following and add the ldb account data to the url so that the most recent
# packages get installed
# [ox-updates]
# name=Open-Xchange Updates
# baseurl=https://[CUSTOMERID:PASSWORD]@software.open-xchange.com/products/appsuite/stable/backend/updates/RHEL7/
# gpgkey=https://software.open-xchange.com/oxbuildkey.pub
# enabled=1
# gpgcheck=1
# metadata_expire=0m
Install on OX App Suite
Refer to OS Repositories on how to configure the software repository of your operating system.
Debian GNU/Linux 8.0/9.0
$ apt-get update
$ apt-get install open-xchange-oauth open-xchange-subscribe-yahoo
SUSE Linux Enterprise Server 12
$ zypper ref
$ zypper in open-xchange-oauth open-xchange-subscribe-yahoo
RedHat Enterprise Linux 6/7 and CentOS 6/7
$ yum update
$ yum install open-xchange-oauth open-xchange-subscribe-yahoo
